Last Updated on 2025-09-06 by Tina
Produce shoe soles with a targeted approach
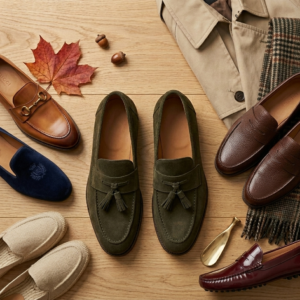
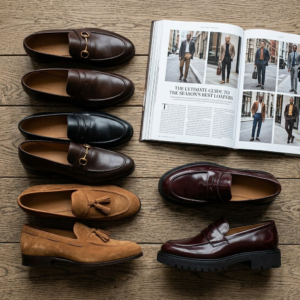
Crafting a shoe sole that marries durability with visual appeal requires precision at every stage. Whether for commercial production or custom projects, mastering the process to produce a standout sole hinges on smart material choices, intentional design, and meticulous execution. Here’s how to create soles that deliver on both performance and style.

Start with Premium Materials to Produce a Solid Foundation
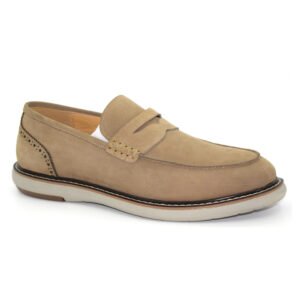
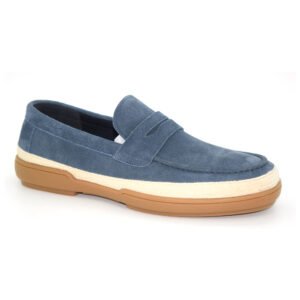
The first step to produce a high-quality sole is selecting materials that balance functionality and aesthetics. For durability, opt for industry-standard options like polyurethane (PU) (known for resilience and shock absorption) or ethylene-vinyl acetate (EVA) (lightweight and flexible for casual wear). To add visual appeal, incorporate leather overlays, metallic trims, or textured polymers for decorative accents. Prioritize materials that not only withstand daily use but also enhance the shoe’s overall look—after all, the right materials are the backbone of any well-made sole.
Design with Purpose to Produce Visual and Functional Harmony
Next, translate your vision into a detailed design that complements the shoe’s purpose. Use CAD software to map the sole’s shape, tread pattern, and structural elements. For athletic shoes, focus on ergonomic curves and non-slip textures; for dress shoes, prioritize sleek contours and minimalistic details. Ensure the design includes practical features like arch support or weight distribution while leaving room for creative elements like embossed logos or color gradients. A well-crafted design is key to produce a sole that looks as good as it performs.
Execute the Manufacturing Process with Precision
With the design finalized, it’s time to produce the sole through careful manufacturing. For molded soles, heat materials until malleable, then pour into precision molds to form the base shape. For layered soles, cut each component (like cushioning insoles or rubber outsoles) to exact specifications and bond them using industrial adhesives, ensuring no gaps or uneven edges. Monitor temperature, pressure, and curing times closely—small deviations can impact both quality and appearance. This stage demands attention to detail to produce a sole that fits perfectly and lasts.
Finish Strong to Produce a Polished Final Product
The finishing touches are what elevate a good sole to a great one. Sand down rough edges for a smooth feel, then apply protective coatings: a glossy sealant for dress shoes, a matte texture for boots, or a non-slip layer for outdoor footwear. Add final decorative elements like painted accents, stitched patterns, or reflective strips to enhance visual appeal. Don’t overlook comfort—ensure the sole’s surface is free of irritants and aligns with the shoe’s ergonomic design. A thoughtful finish is essential to produce a sole that looks professional and feels exceptional.
Quality Check: The Final Step to Ensure Your Sole Shines
Before considering the process complete, conduct rigorous quality checks. Test for flexibility, abrasion resistance, and colorfastness to ensure the sole meets safety and durability standards. Inspect for visual flaws like uneven coloring or misaligned details, and make adjustments as needed. A thorough quality check guarantees that every sole you produce not only meets expectations but exceeds them, building trust with customers who value both form and function.
Any questions pls contact custom shoes expert Whatsapp +86 13392749315 and Get the latest news and updates straight to your email inbox.